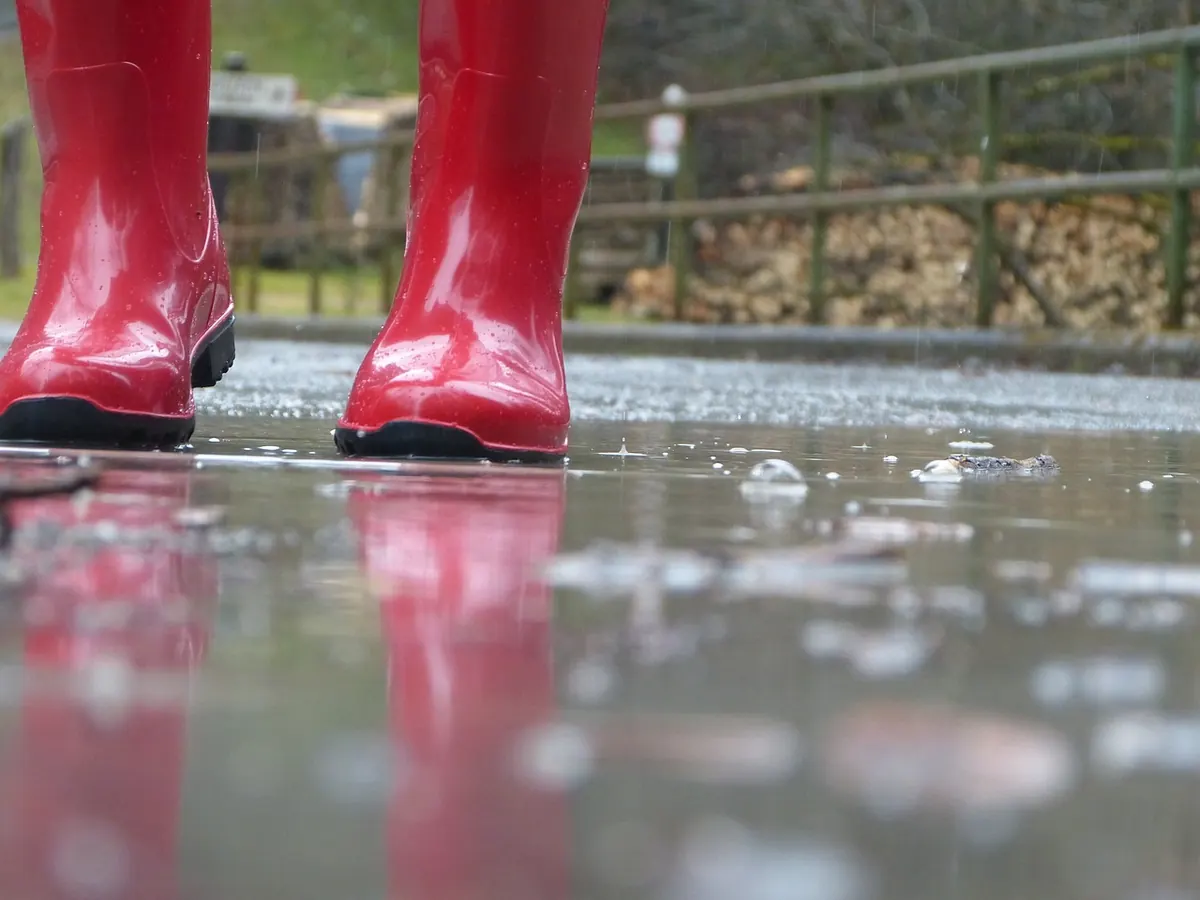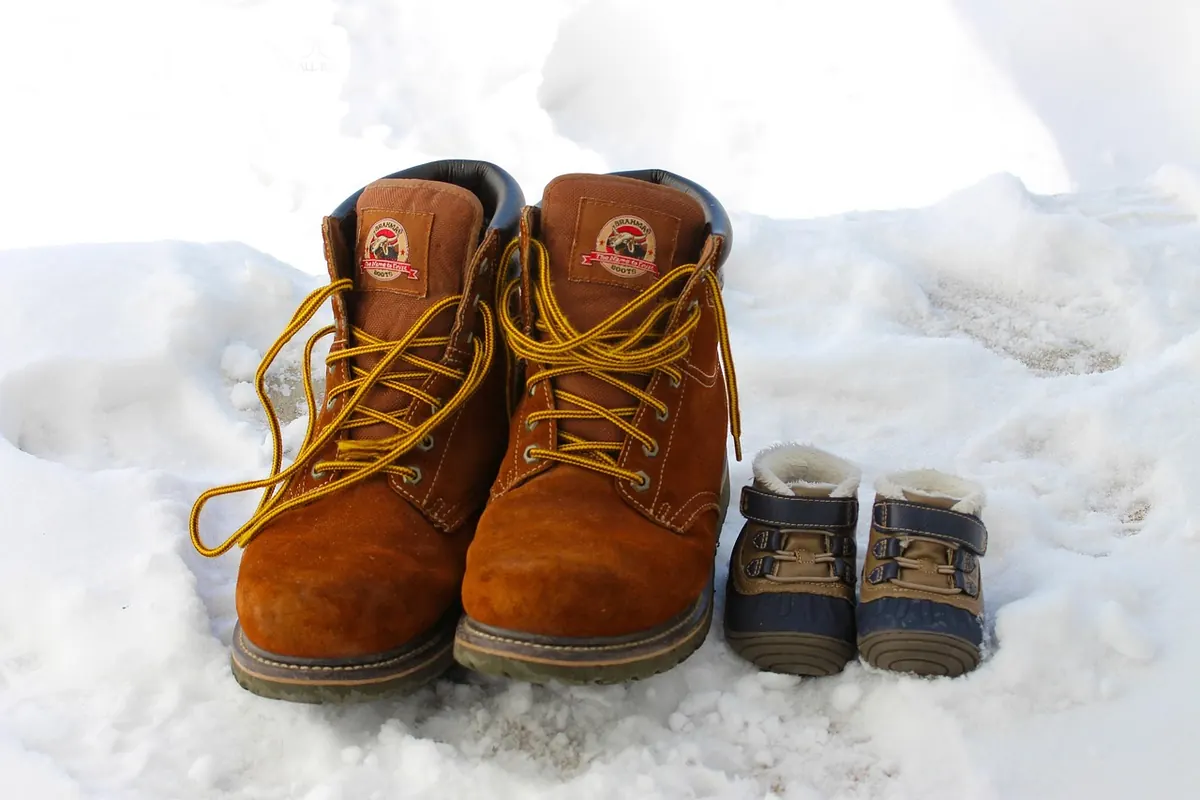
A good pair of wellies spends half the year working hard—mud, puddles, frost, the school run—and the other half shoved behind a door in the dark. That second half is where most pairs quietly fail. Rubber that sits damp, folds under its own weight or bakes in a hot shed will crack along the creases long before autumn comes back around.
Storing wellingtons well isn't complicated. It comes down to four things: cleaning them properly, drying them all the way through, holding their shape, and putting them somewhere that doesn't fight the material. Here's how to do it for the warm months and the cold ones.
Why Off-Season Storage Decides the Boot's Future
Natural rubber and the rubber blends behind most decent wellies dislike four things: UV light, heat, ozone and long-term deformation. A boot folded over on itself for six months will remember that fold. A boot left on a sunny windowsill goes chalky and dull. A boot stored beside a hot water tank hardens faster than you'd expect.
None of those are dramatic on their own. Together, they're the reason a pair that felt supple in March feels stiff and splits in November.
Clean Them Properly First
Mud left in place holds moisture against the rubber. When you take your wellies out of service, wash them.
Outside
- Use lukewarm water, a mild soap and a soft brush or cloth. Never hot water, a washing machine or a dishwasher—heat distorts the shape and dries out the rubber.
- Work around the sole tread, the seams at the heel and the rim of the shaft, where grit collects.
- Rinse the tread clean. Trapped grit grinds away at the rubber every time the boot shifts.
Inside
Turn the boot over and deal with the lining too. A cloth and lukewarm water will do for neoprene and textile linings. For stale smells, sprinkle in bicarbonate of soda, leave it a few hours, then shake it out. Let the inside dry completely—a damp lining in a dark cupboard is an invitation to mould.
Dry Them Completely, Then Give It Another Day
This is the step people rush. Water trapped in a lining or a seam does more damage in storage than a wet walk ever does.
Stand them upright somewhere warm and ventilated, out of direct sun—a hallway or a spot near an open door works well. Keep them away from radiators, wood burners and airing cupboards; that kind of heat is too much for rubber. Never park tall wellingtons upside down for days on end, either, because the weight presses down on the toe and ankle. If you need to drain them, hang them briefly by the loop, then stand them back up.
Allow two or three days, longer if the insides still feel cool and clammy against the back of your hand. If there's any doubt, wait.
Stuff Them to Hold Their Shape
A boot with nothing inside collapses at the ankle, and that crease is where splits begin. Fill each one with something that supports without pressing hard.
- Rolled newspaper. Cheap, effective and slightly absorbent. Swap it after the first day if it comes out damp.
- Boot trees or shapers. Worth the outlay if you wear the same pair year after year. Cedar versions also help with odour.
- Clean, dry cloths or old socks. Ideal for shorter ankle boots that don't need much internal support.
Don't overstuff. You want the boot held, not stretched, and the opening should keep its natural width. For tall boots, some people slide a rolled magazine down the back of the shaft to stop the calf bending forward. Whatever goes in must be dry first.
Summer Storage: Guard Against Heat and Light
Summer is the harshest stretch for stored rubber. Garages and sheds reach temperatures that soften rubber, then harden it as they cool, while sunlight does its own slow work on the surface.
Aim for cool, dark, dry and out of direct sun. A cupboard inside the house usually beats a shed, even if the shed is where the boots live all winter. Then:
- Bag them in breathable cotton—a pillowcase works fine. Skip sealed plastic bags, which trap any remaining moisture.
- Keep them off bare concrete floors, which draw damp and stay cold. A shelf or wooden crate is better.
- Move them away from boilers, water heaters and anything with an electric motor, since ozone from appliances ages rubber.
- Drop a silica gel sachet into each boot if you live somewhere humid.
Check them once mid-season. A faint chalky bloom wipes off and is nothing to worry about, but deep cracks and stiff patches are a warning. A thin coat of rubber conditioner or a silicone-based protector can help keep the surface supple—test a small patch first.
Winter Storage: Keep Out the Cold and Damp
Winter storage applies to the boots you don't wear in the wet season: the smart pair, the spare pair, the ones a child has just grown out of.
Cold alone isn't the problem. Damp is. A freezing shed, a concrete floor and a boot that never quite dried out add up to moisture sitting in the lining for months, and that brings mould, a musty smell and perished seams.
- Store in a dry room, ideally above freezing.
- Keep boots off the floor and away from outside walls, which sweat in cold weather.
- Add a silica sachet or a small muslin bag of dry rice inside each boot.
- Check monthly. If the insides feel cold and damp, bring them indoors to air for a day.
If the boots are neoprene-lined, don't squash them into a tight box. Neoprene creases permanently, and once the lining is crushed the comfort goes with it.
A Short Checklist Before They Go Away
- Wash outside and inside with lukewarm water and mild soap.
- Rinse, then dry thoroughly standing upright, away from heat.
- Stuff with newspaper, shapers or dry cloth.
- Bag in cotton, not plastic.
- Place somewhere cool, dark and dry, off the floor.
- Check once mid-season.
Bringing Them Back Out
A week before you need them, pull out the stuffing and give them a once-over: flex the sole, check the seams, and run a hand inside to feel for damp or grit. A wipe with a damp cloth and a short airing is normally all it takes.
If you spot a small split at the ankle crease, a rubber repair patch or adhesive made for wellingtons can add a season or two—best done before the first real downpour rather than after. If the sole is cracked through or the whole boot has gone stiff, replace them. No amount of careful storage brings perished rubber back.
Stored well, a decent pair of wellies will handle several seasons of mud without complaint. Ten minutes at the end of the season costs far less than shopping for a new pair in October.
Photo: StockSnap / Pixabay